
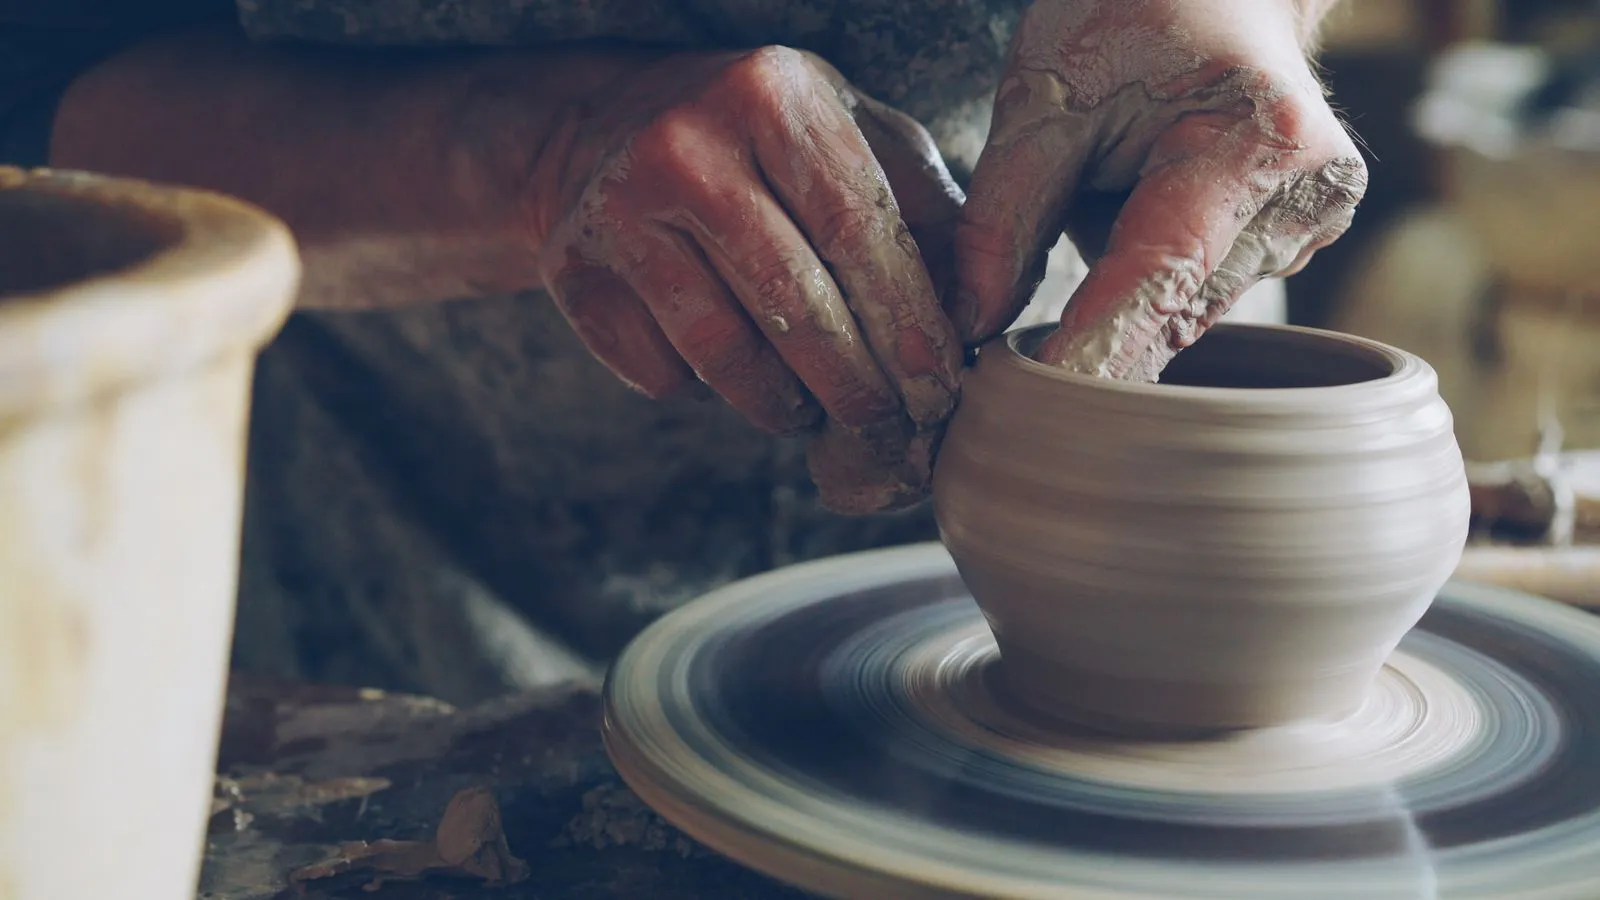
Your first pottery class is a chance to get your hands muddy, learn a few essential techniques, and see how clay responds on the wheel. You do not need drawing skills or prior experience. An instructor will guide you through each step, from preparing the clay to shaping a simple form. Expect to practice, make adjustments, and enjoy the process rather than aim for a perfect bowl on your first try.
Start With Clay and Setup
Most wheel-throwing classes begin with a quick tour of the studio and an explanation of the tools. Your instructor may demonstrate how to wedge clay, a kneading-like process that helps make it even and workable. You will also learn how to position your body at the wheel, use the foot pedal, and keep your hands steady.
Wear clothes you can get dirty, and choose shoes that cover your toes. Tie back long hair and remove rings or bracelets that could catch in the clay. Studios usually provide clay and shared tools, but check class instructions beforehand. Keep a towel handy if requested, and arrive with enough time to settle in.
Learn the Basic Wheel Steps
First, you will press the clay onto the center of the spinning wheel head. Centering takes practice: use even pressure with both hands and follow your instructor’s guidance as the clay moves. If the clay wobbles or slips, pause and reset rather than forcing it. A small amount of water helps your hands glide, but too much can make the clay soft and difficult to control.
Once the clay is centered, you will open a hole in the middle and shape the base. Then you will raise the walls by drawing the clay upward between your hands. Your instructor may help you make a small cup or bowl, keeping the walls an even thickness. At the end, you will smooth the rim and use a cutting wire to lift the piece from the wheel.
Expect Practice, Not Perfection
The first attempts may come out uneven, short, or off-center. That is a normal part of learning how pressure, speed, water, and posture work together. Your instructor can help you correct a shape, but sometimes the best lesson comes from starting again. Focus on one skill at a time, such as keeping your elbows supported or applying steady pressure.
A finished piece usually needs to dry before the studio can trim, fire, and glaze it. Those steps take time, so you may not take your work home on class day. Ask how the studio handles firing, glazing choices, pickup, and pieces that crack or do not survive the process. Knowing the plan helps you understand what to expect after the wheel work is done.
Prepare for a Better First Session
Before class, read the studio’s instructions for arrival, clothing, and what the fee includes. Let the instructor know about an injury or mobility concern that could affect your time at the wheel. Bring water if allowed, and avoid scheduling yourself too tightly afterward; cleaning your station and washing up are part of the session.
During the lesson, listen to each step before trying to move faster. Ask for a demonstration whenever a hand position or tool feels unclear. Keep your workspace tidy and follow the studio’s directions for clay scraps, water, and cleanup. At Juniper Lane Pottery in Asheville, weekend wheel-throwing classes welcome beginners, so you can focus on learning at a comfortable pace.
Your first pottery class is about learning how clay behaves, not producing a flawless piece. Dress for a little mess, follow each step, and give yourself room to practice. With a few basic techniques and patient guidance, you can leave with a better feel for the wheel—and a good reason to keep creating. Check with a local studio about upcoming beginner classes.